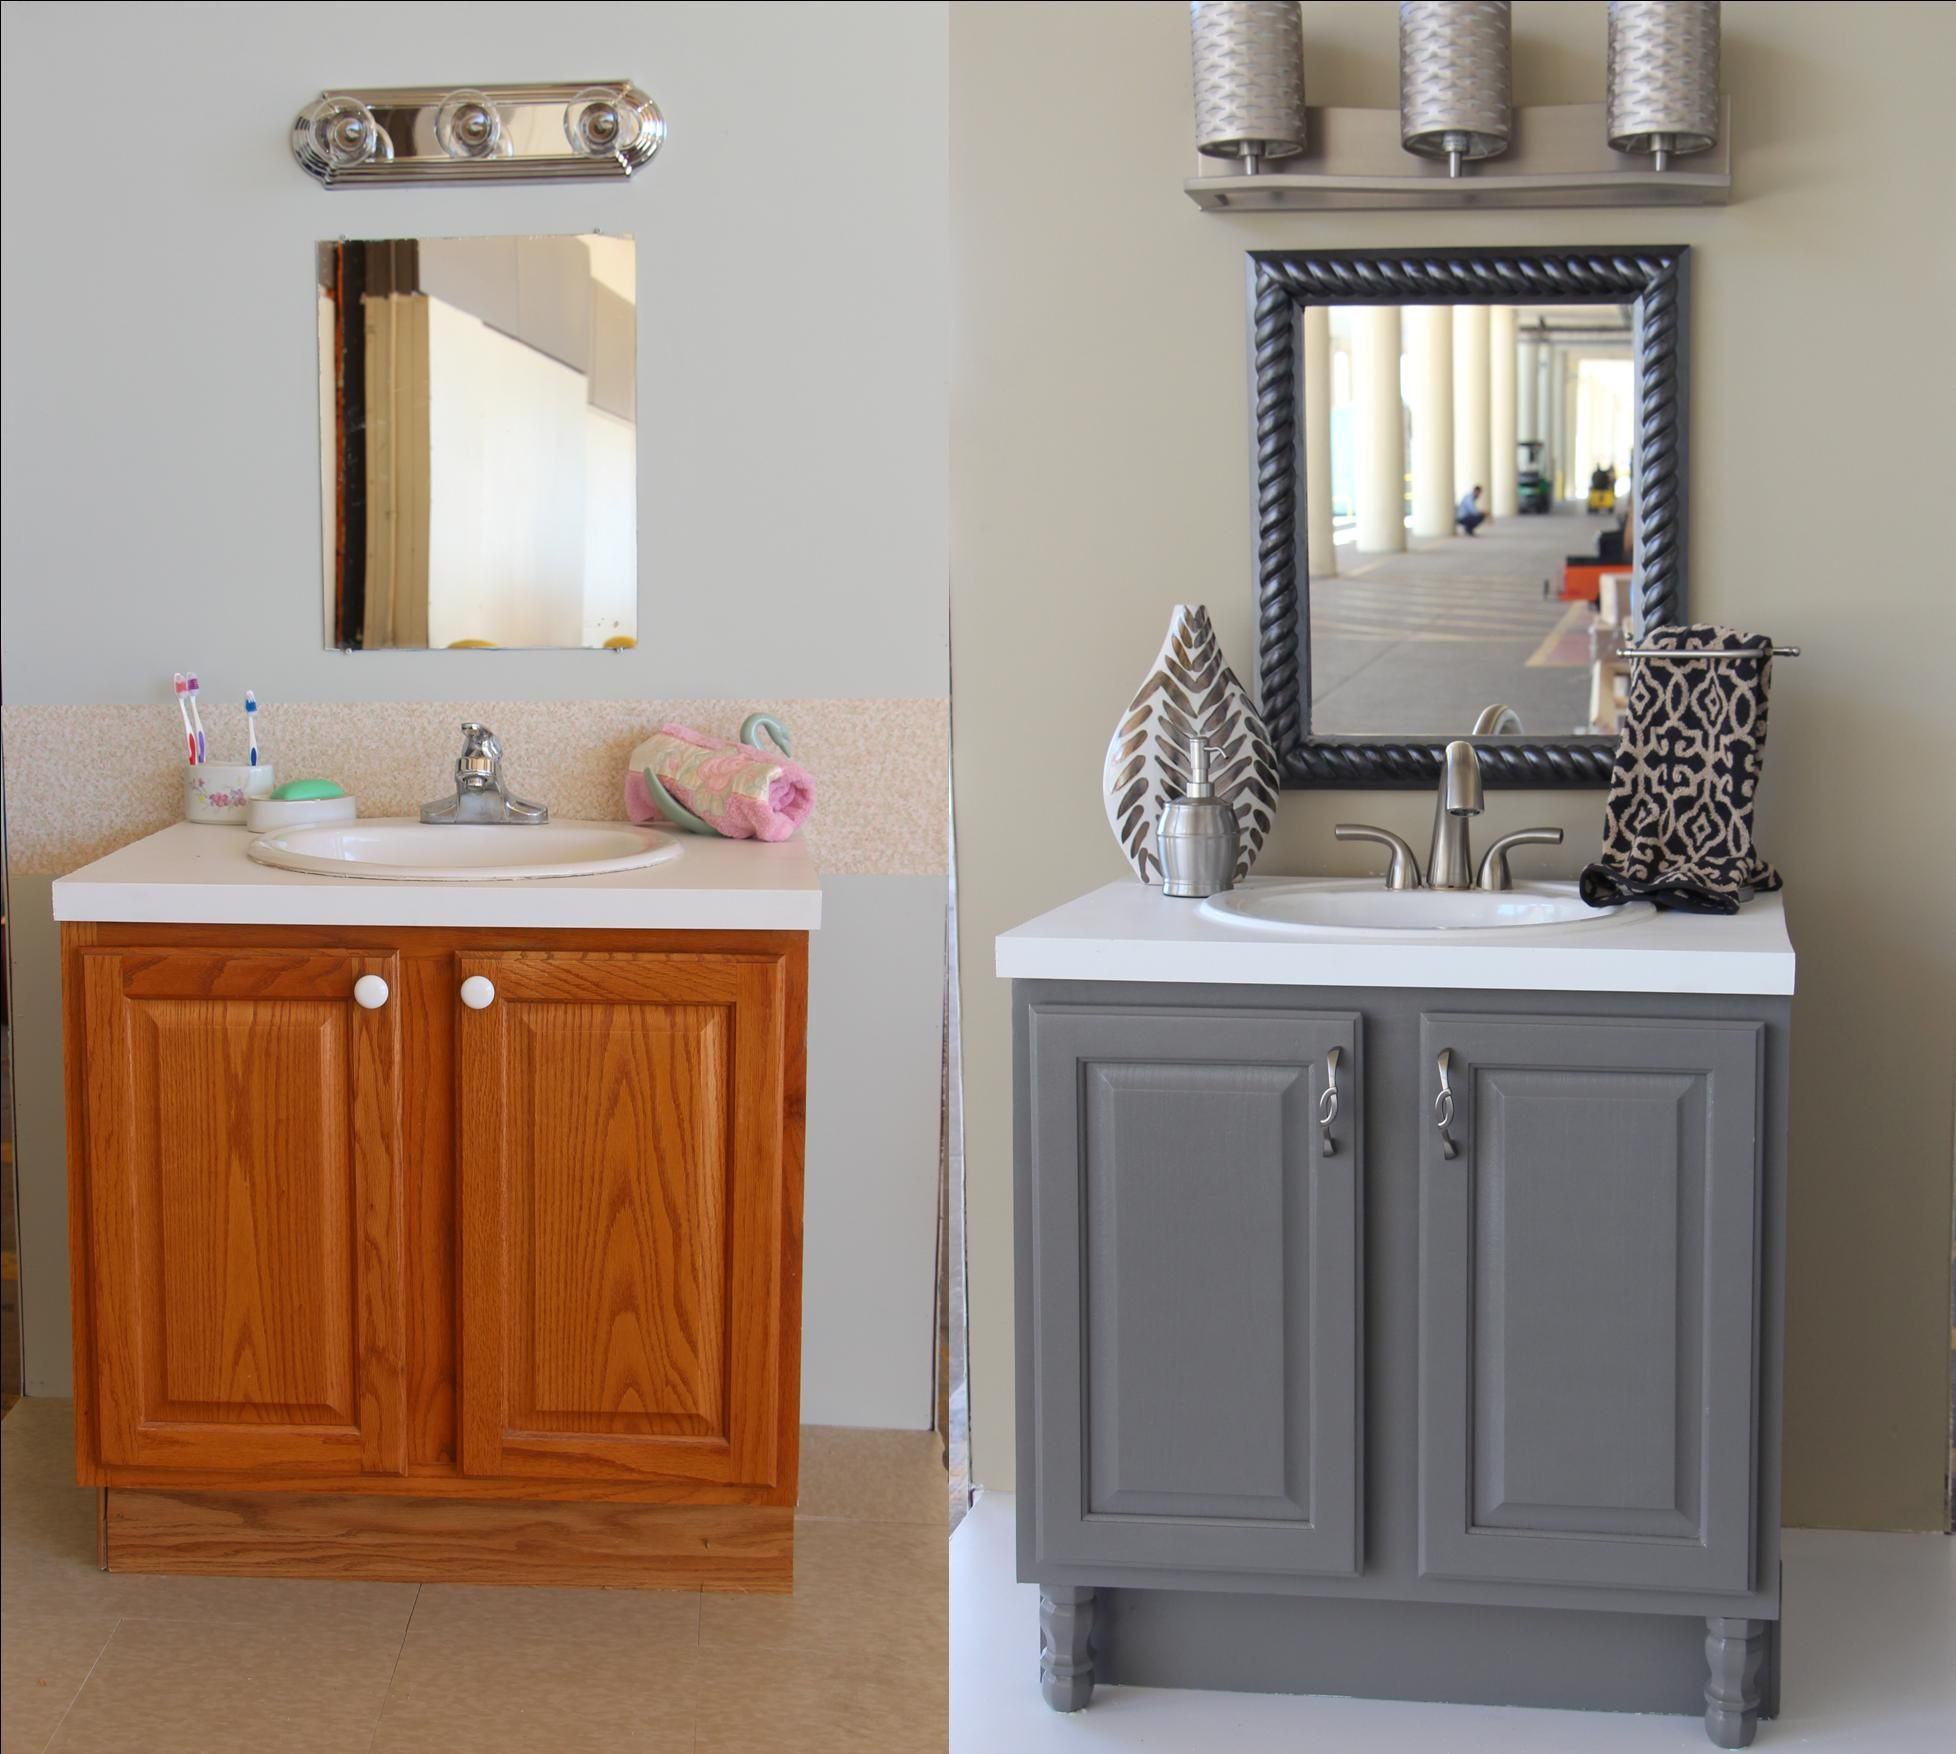
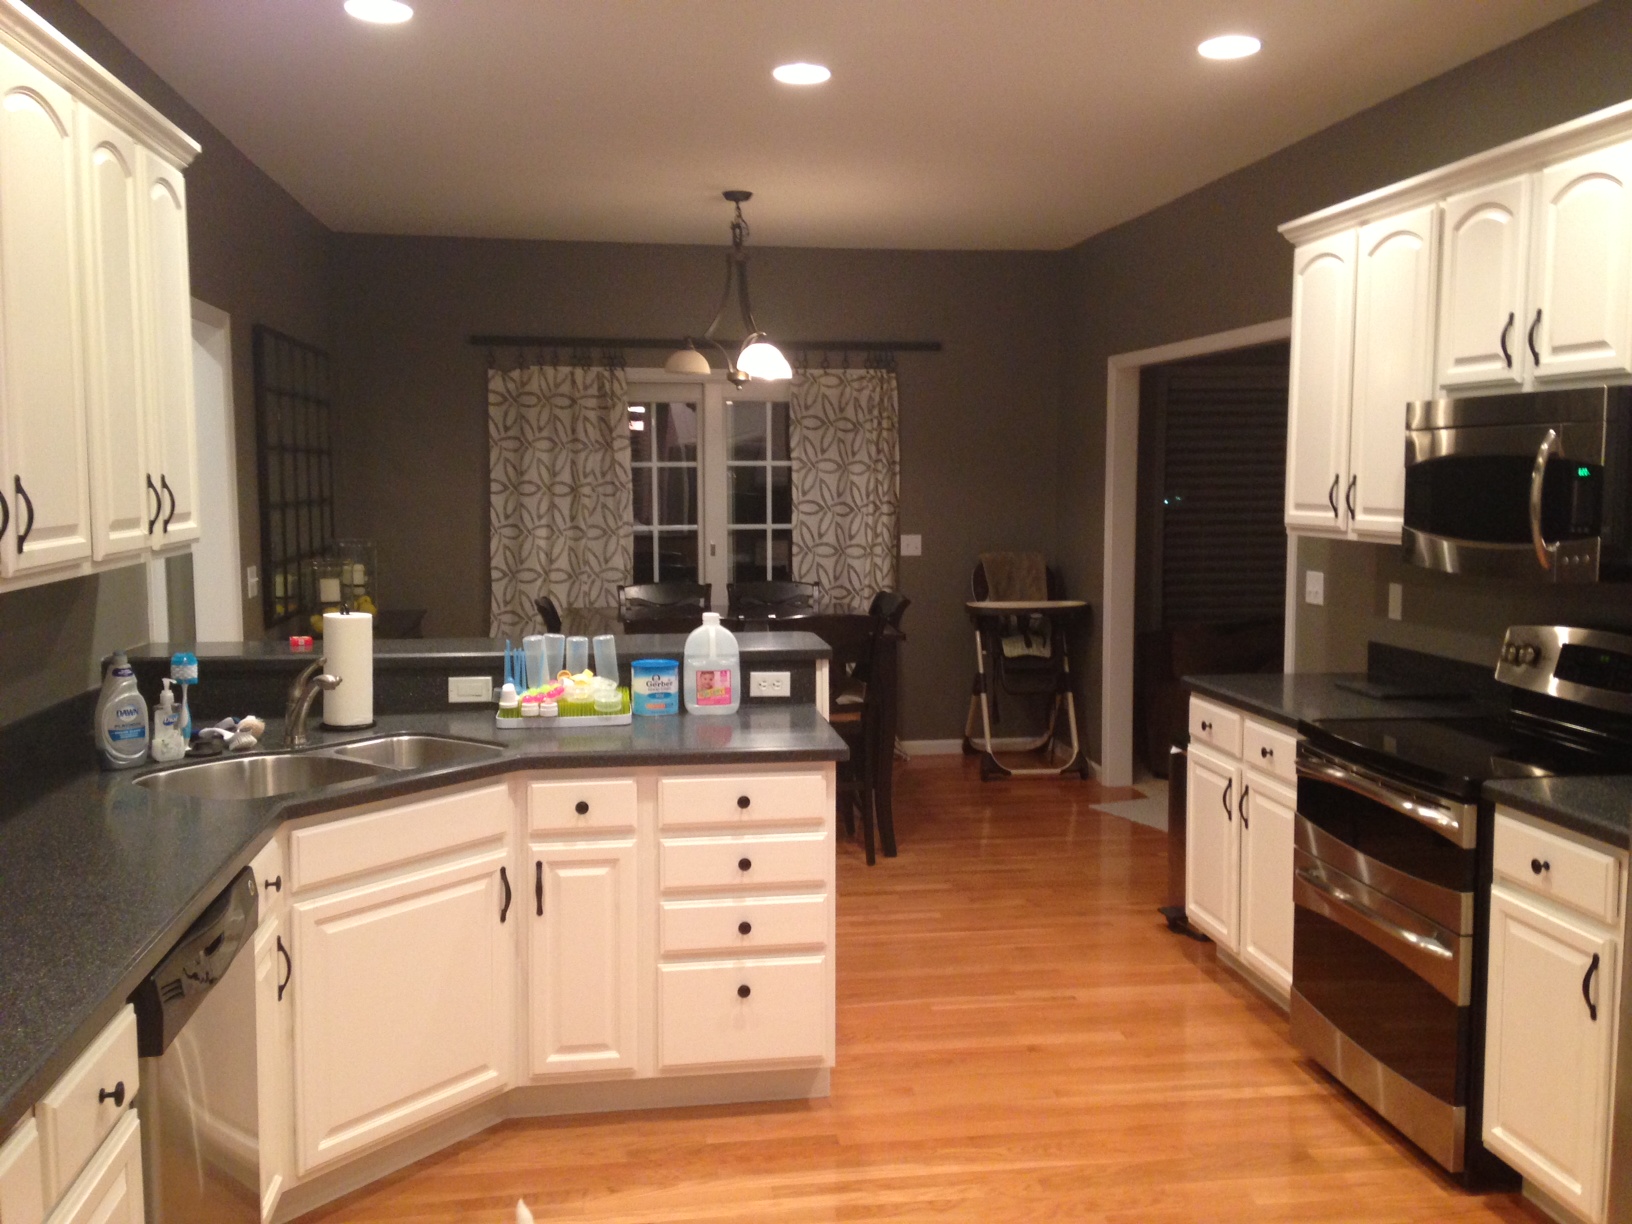
Preparing Cabinets for Repainting

Repainting kitchen cabinets, a seemingly simple task, unveils a deeper artistry when tackling previously painted surfaces. The success hinges not on the final brushstroke, but on the meticulous preparation that precedes it. A flawlessly smooth, clean surface is the foundation for a durable and aesthetically pleasing finish. Neglecting this crucial step can lead to peeling, chipping, and an overall unsatisfactory result, undermining the entire endeavor.
Cabinet Cleaning Methods
Thorough cleaning removes grease, grime, and any previous coatings that might hinder adhesion. Several methods exist, each with its own strengths and weaknesses. The choice depends on the existing finish and the desired level of aggressiveness.
| Method | Description | Pros | Cons |
|---|---|---|---|
| TSP (Trisodium Phosphate) | A powerful degreaser and cleaner, often used for heavy-duty cleaning. | Effectively removes grease and grime; prepares surfaces for better paint adhesion. | Can be harsh on skin and requires thorough rinsing; may not be suitable for all surfaces. |
| Deglosser | A chemical solution that removes the sheen from glossy surfaces, improving paint adhesion. | Creates a better surface for paint to adhere to; easier to use than sanding for glossy surfaces. | Strong chemical odor; requires careful ventilation and protective gear. |
| Mild Dish Soap and Water | A gentle cleaning solution suitable for lightly soiled cabinets. | Safe and readily available; less harsh than other methods. | May not be effective for heavily soiled or greasy cabinets; may require more scrubbing. |
| Krud Kutter | A multi-purpose cleaner and degreaser. | Effective on a variety of surfaces and soils; relatively easy to use. | Strong odor; may require multiple applications for stubborn stains. |
Sanding Techniques for Cabinet Refinishing
Sanding is essential for creating a surface receptive to the new paint. It smooths out imperfections, removes any remaining gloss, and ensures proper adhesion. Different grits of sandpaper achieve varying degrees of smoothness. Imagine the coarse grit (like 80-grit) as a sculptor’s rough chisel, removing significant imperfections. Finer grits (like 220-grit) act like a polisher, refining the surface to a velvety texture. Always sand in the direction of the wood grain to avoid scratching. A light touch is crucial; aggressive sanding can damage the cabinet surface. Visualize the transition: Initially, you see the removal of obvious imperfections, then a gradual smoothing, until a uniform, matte finish is achieved. Using a sanding block ensures even pressure and avoids creating uneven patches.
Filling Imperfections and Cracks
Before applying the new coat, addressing imperfections such as cracks, holes, or scratches is paramount. Different fillers exist, each suited to specific tasks. Wood filler is ideal for larger gaps and holes, while lightweight spackling paste is better for smaller imperfections. The process involves carefully cleaning the area, applying the filler, letting it dry completely, and then sanding it smooth.
- Clean the imperfection thoroughly, removing any loose paint or debris.
- Apply the filler using a putty knife, ensuring it’s slightly above the surface level.
- Allow the filler to dry completely according to the manufacturer’s instructions.
- Sand the dried filler smooth, blending it seamlessly with the surrounding surface.
- Wipe away sanding dust with a tack cloth.
Imagine a crack in the cabinet door, initially stark against the surface. The wood filler, applied carefully, fills the void. After drying, sanding subtly integrates the repaired area, leaving no trace of the damage. The process is a delicate dance between restoration and invisibility.
Selecting Paint and Applying it to Repainted Cabinets: Painting Cabinets That Have Already Been Painted

Repainting kitchen cabinets, a seemingly simple task, unfolds into a nuanced process demanding careful consideration at each stage. The choice of paint, a pivotal decision, significantly impacts the final result – the longevity, the sheen, and the overall aesthetic appeal. Applying the paint, equally crucial, determines the smoothness, the evenness, and the absence of those frustrating imperfections that can mar even the most meticulously planned project.
The selection of the right paint is paramount. The existing paint layer acts as a foundation, influencing the compatibility and performance of the new coat. Different paint types offer distinct properties, impacting both the ease of application and the final look.
Paint Types for Cabinet Repainting
Choosing the right paint depends on the desired finish and the existing cabinet style. A glossy finish might be perfect for a modern kitchen, while a more matte finish might suit a traditional setting. Durability is also a key factor, particularly in high-traffic areas like kitchens.
- Alkyd Enamel: Known for its exceptional durability and hard finish, alkyd enamel is a classic choice for cabinets. It offers excellent resistance to scratches and moisture, making it ideal for high-use areas. However, it has a strong odor and requires longer drying times than other options. The glossy finish can be visually striking but may highlight imperfections in the surface preparation.
- Acrylic-Alkyd Hybrids: Combining the best of both worlds, these paints offer the durability of alkyd with the low-odor and quick-drying properties of acrylics. They provide a smooth, durable finish, making them a versatile choice for most cabinet styles. The range of finishes available extends from satin to semi-gloss, allowing for greater flexibility in design.
- Acrylic Latex: Water-based acrylic latex paints are popular for their ease of use, low odor, and quick drying times. They are less durable than alkyd or hybrid options but still offer decent protection, especially in low-traffic areas. The finish can range from matte to high-gloss, providing a broad spectrum of aesthetic choices. However, they may be less resistant to scratches and moisture compared to other options.
Applying Paint to Previously Painted Cabinets
The application process is a delicate dance between precision and patience. Each stroke contributes to the overall finish, demanding attention to detail. Preparing the surface correctly – sanding, cleaning, and priming – is fundamental to achieving a smooth, flawless result.
Imagine the surface of your cabinets as a canvas. The first coat of paint acts as the initial layer, laying the groundwork for the subsequent coats. Apply the paint in thin, even coats, using a smooth, consistent motion to minimize brushstrokes. Allow each coat to dry completely before applying the next. This ensures proper adhesion and prevents uneven drying.
Visualize the process: Begin by applying paint to a small section, using smooth, overlapping strokes in the same direction. Avoid heavy pressure, as this can lead to drips and runs. Once the initial section is covered, move to the adjacent area, maintaining a consistent overlapping pattern to prevent visible lines between sections. For edges and corners, use a smaller brush for precise application. For larger surfaces, a roller is more efficient. Allow ample drying time between coats. Multiple thin coats are always preferable to one thick coat, which is more prone to drips and uneven drying.
Painting Tools and Techniques, Painting cabinets that have already been painted
The right tools significantly enhance the painting process. Different tools cater to various needs and surface areas, optimizing the outcome. Selecting the appropriate brush, roller, or sprayer depends on the cabinet’s size, style, and the desired finish.
| Tool Type | Description | Best Use Case | Advantages/Disadvantages |
|---|---|---|---|
| High-quality paint brush (natural bristle or synthetic) | Brushes with varying bristle stiffness and widths for detailed work and edges. | Cutting in around edges, detailed work, smaller surfaces. | Advantages: Precision, control. Disadvantages: More time-consuming for large surfaces. |
| High-nap roller | Roller with a thick, plush nap for smoother finishes on textured surfaces. | Large, flat surfaces, textured cabinets. | Advantages: Speed, efficiency. Disadvantages: May leave a slightly textured finish on smooth surfaces. |
| Low-nap roller | Roller with a short, thin nap for smoother finishes on smooth surfaces. | Large, flat, smooth surfaces. | Advantages: Smooth finish, efficiency. Disadvantages: Not ideal for textured surfaces. |
| HVLP Sprayer | High-volume, low-pressure sprayer for a smooth, even finish. | Large surfaces, achieving a consistent finish. | Advantages: Very smooth finish, efficient for large areas. Disadvantages: Requires more setup, potential for overspray. |
Addressing Specific Issues When Repainting Cabinets

Repainting kitchen cabinets, especially those already bearing a coat of paint, presents a unique set of challenges. The existing paint’s condition significantly impacts the final result, demanding careful attention to detail and a strategic approach. Ignoring underlying problems can lead to a less-than-perfect finish, negating the effort invested in the project. This section addresses common issues and provides practical solutions for achieving a professional-looking outcome.
Peeling, Chipping, and Uneven Surfaces
Peeling paint, often appearing as curled edges or flaking sections, indicates poor adhesion of the previous coat. Imagine a landscape where patches of the old paint have risen, creating small mountains on the cabinet’s surface. Chipping, on the other hand, reveals bare wood or previous layers of paint, like small craters scattered across the landscape. Uneven surfaces may feel rough or bumpy to the touch, lacking the smooth plane of a properly finished cabinet. These imperfections must be addressed before repainting to ensure a durable and aesthetically pleasing result.
To remedy peeling paint, carefully scrape away all loose material using a putty knife. For chipping, fill the gaps with wood filler, ensuring a seamless transition. Once dry, sand the filled areas smooth. Uneven surfaces may require sanding to create a level plane. In all cases, proper surface preparation is key – a thorough cleaning followed by light sanding will create the ideal base for the new paint. This meticulous groundwork ensures the new paint adheres effectively and provides a uniform, flawless finish. The result? A cabinet surface as smooth as polished stone, ready for its transformation.
Addressing Stubborn Stains and Discoloration
The presence of stubborn stains or discoloration on previously painted cabinets requires a targeted approach. Ignoring these blemishes will lead to their visibility even after repainting, undermining the project’s aesthetic appeal. A thoughtful strategy is needed to counteract their impact.
- De-glossing: A thorough de-glossing with a liquid deglosser ensures optimal adhesion of the new paint, particularly on glossy surfaces. This is crucial as it provides a suitable ‘anchor’ for the fresh coat.
- Primer: A high-quality primer, specifically designed for cabinets, acts as a barrier, effectively concealing stains and ensuring even color distribution. It’s akin to laying a foundation for a building; a strong base is essential for a stable structure.
- Stain Blocker: For particularly stubborn stains, such as water rings or grease marks, a stain-blocking primer is recommended. This specialized primer is designed to neutralize and prevent bleed-through from the underlying stains.
- Multiple Coats: In some cases, multiple coats of paint, possibly with a coat of primer in between, may be necessary to achieve complete coverage and hide the discoloration. This is especially true with dark stains or significant color differences.
Achieving a Smooth, Professional Finish
Minimizing brushstrokes and achieving a consistent sheen requires meticulous application techniques. The final result should be a flawless, even surface that reflects the quality of the work.
Begin by applying a thin, even coat of paint. Avoid overloading the brush, and use smooth, consistent strokes in one direction.
Allow the first coat to dry completely before applying a second coat. This ensures proper adhesion and prevents the formation of runs or drips.
For a smooth finish, use a high-quality brush or roller specifically designed for cabinets. A brush with fine bristles will help to minimize brushstrokes.
Apply the second coat using smooth, overlapping strokes, blending the edges of each stroke to create a seamless transition. Maintain consistent pressure to avoid uneven application.
Once the paint is dry, lightly sand the surface with fine-grit sandpaper to remove any imperfections. This final touch creates an ultra-smooth, professional finish.
